
Benefit:
When checking out a patient, you can easily update the appointment Status and Area to keep all staff informed just by looking at the Scheduler or My Activities. You can even personalize your scheduler view by grouping appointments by Status or Area to better manage your workflow.
STEP 1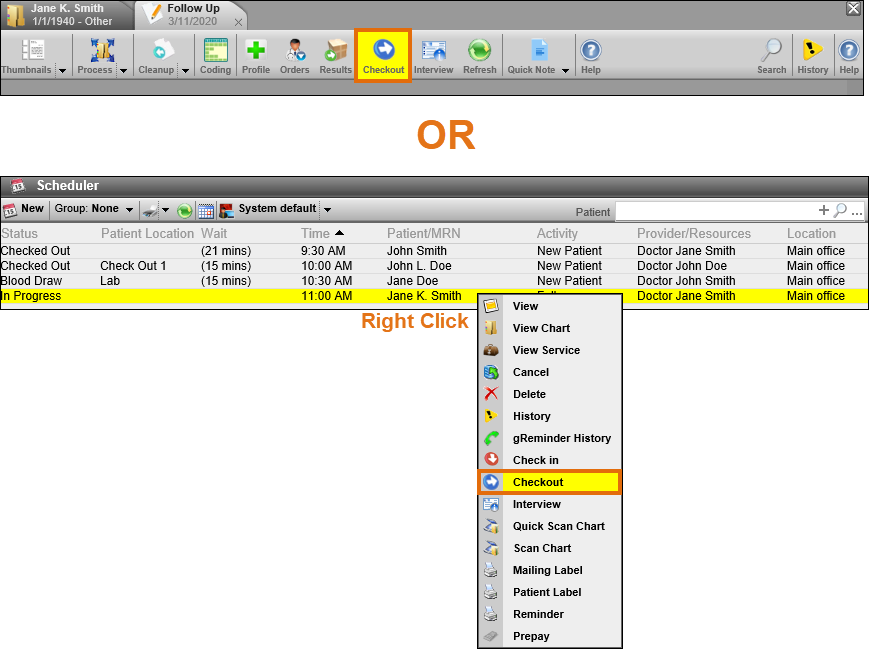
Access the checkout screen from the service, or the appointment.
.
.
STEP 2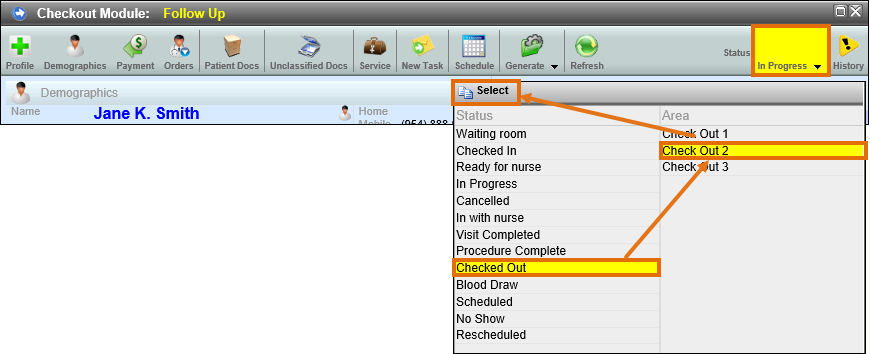
Click the Status button and select the appropriate status and area, and then click Select.
STEP 3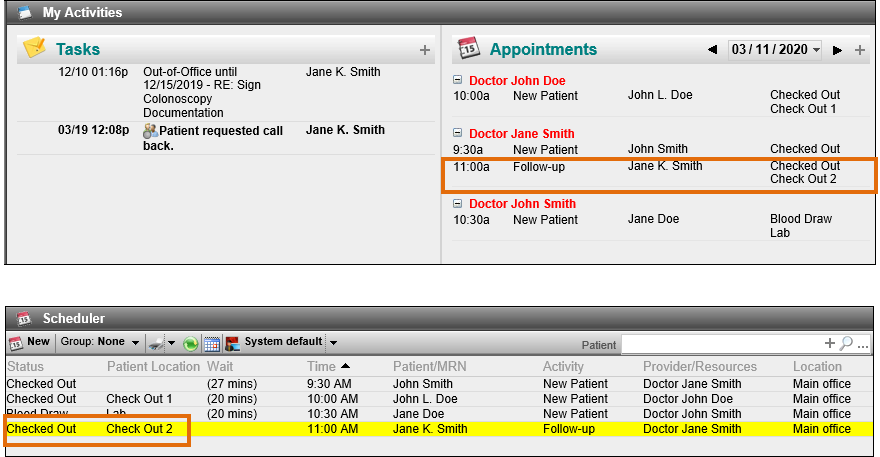
The update is visible in My Activities and the Scheduler.
Bonus!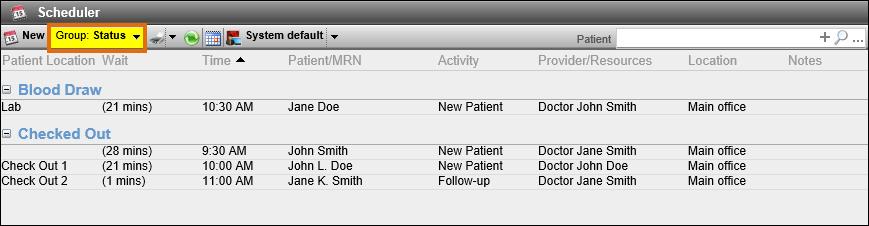
You can group the Scheduler by Area or Status to improve your workflow.